
A Kärcher HDS pump service is not just a matter of fitting one set of seals. The pump contains high-pressure seals, low-pressure seal packages, oil seals, static O-rings and one-way valves. Each part has a different job, and the way the machine behaves helps us decide where to look first.
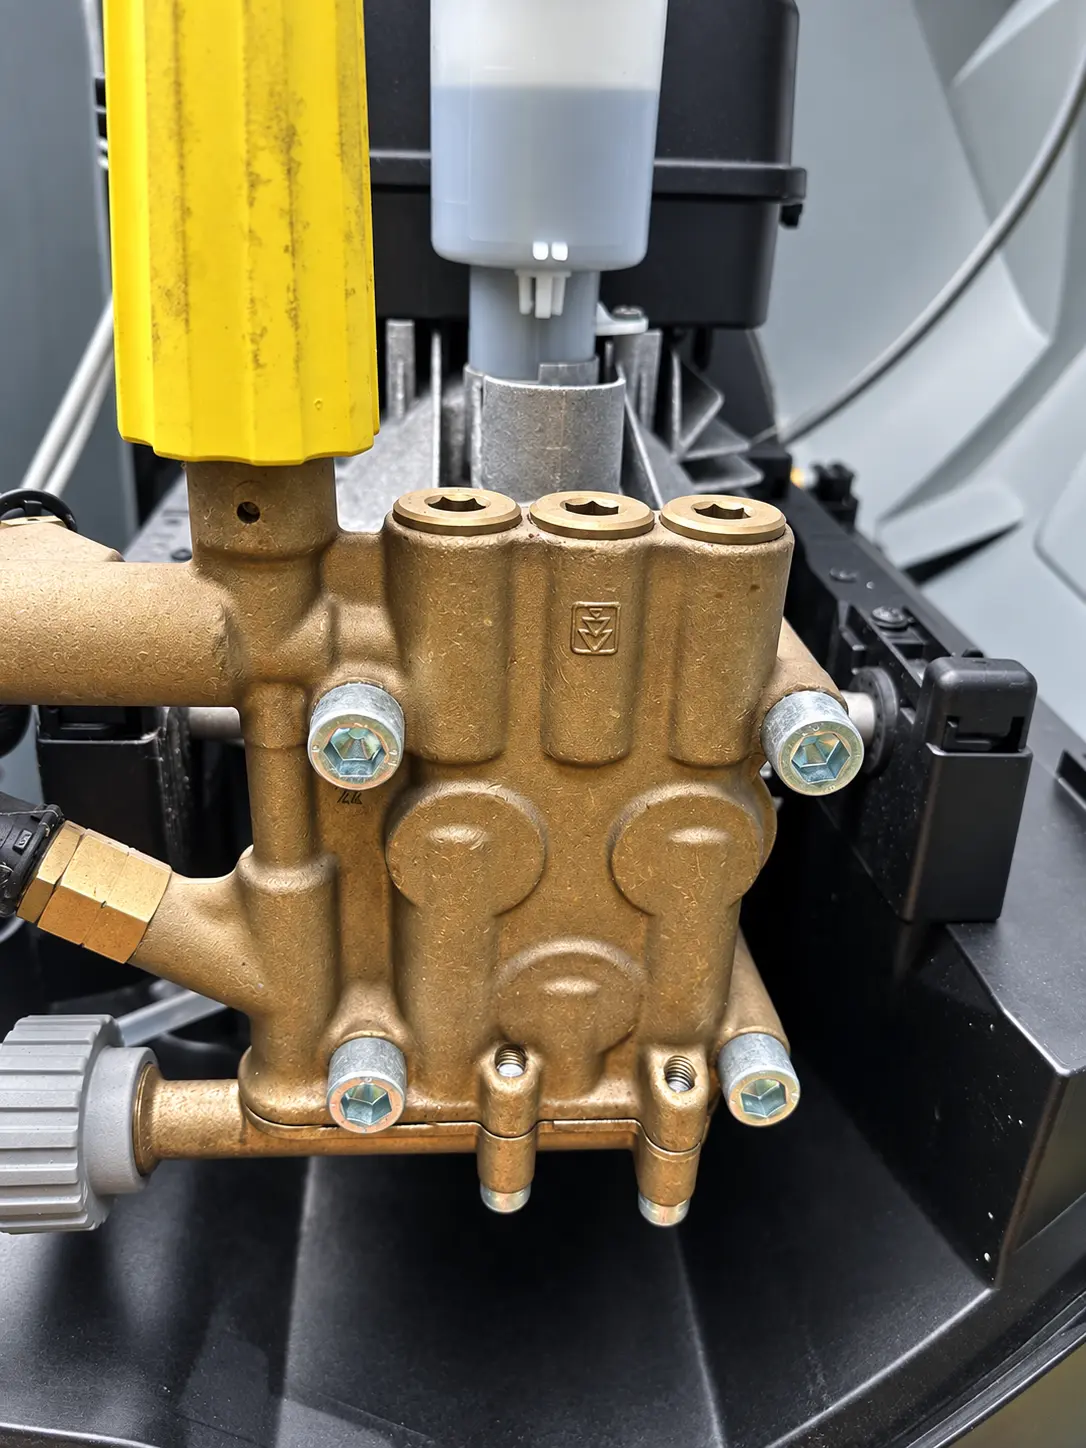
What the different pump seals do
Low-pressure seals
The low-pressure seals work on the inlet side of the pump. Their job is to help the pump draw and control its incoming water supply. On the HDS compact pump shown in the service information, each low-pressure seal package includes a plastic washer, O-ring, bushing, low-pressure seal and brass support disc.
A machine that runs from its internal float tank but struggles to draw water is a strong reason to inspect the low-pressure seals and the inlet path. In our workshop this is one of the most useful signs of low-pressure seal wear.
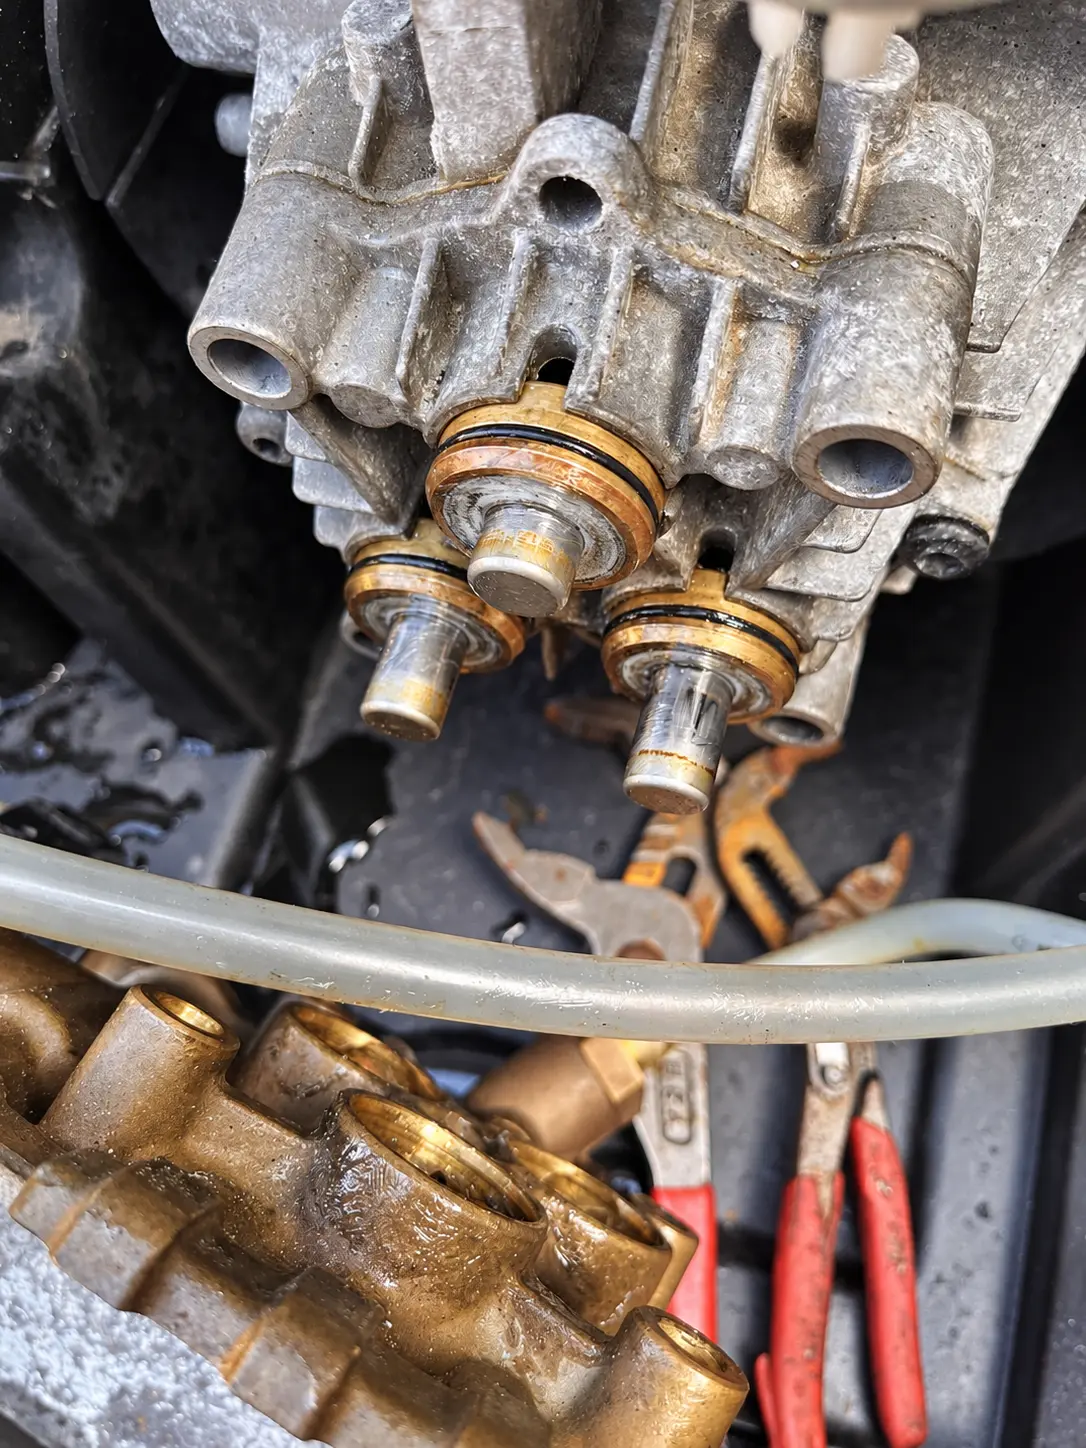
High-pressure seals
The high-pressure seals sit in the brass pump head and seal around the pistons as working pressure is created. When they wear, water may still reach the gun, but the jet is weaker than it should be and the machine may not reach or hold its expected pressure.
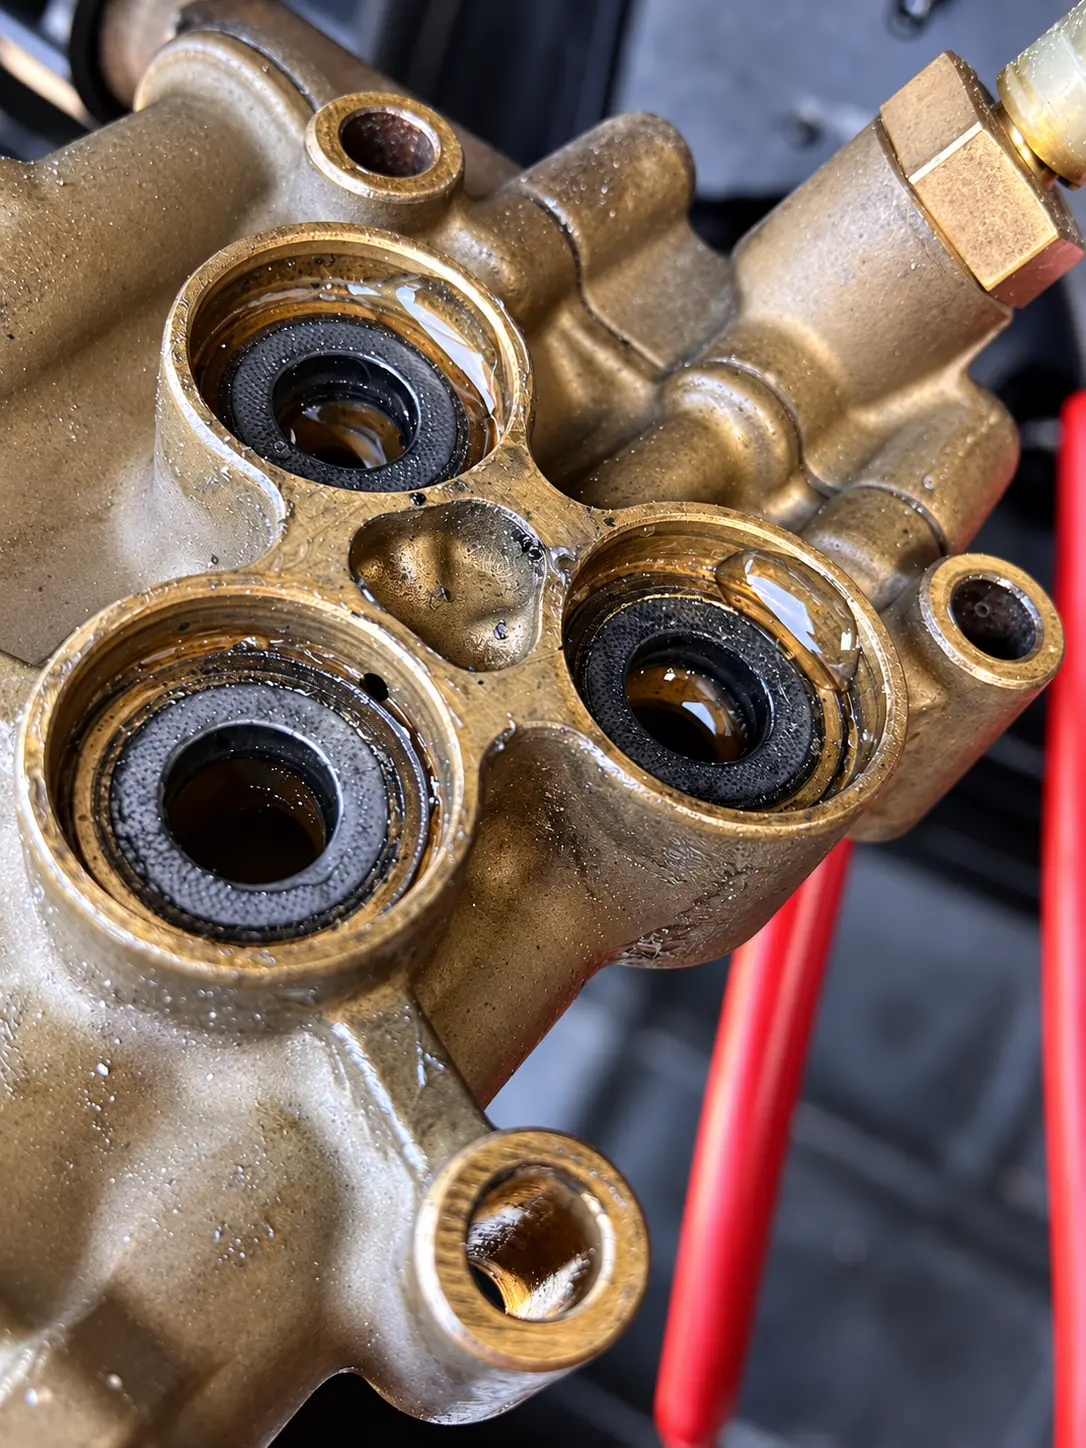
O-rings and static seals
O-rings seal the fixed joints between the bushings, pump head, suction bridge, valves and connected water passages. Water visibly escaping from the pump often points towards an O-ring or another static seal, although the exact source must be confirmed after cleaning and inspection.
Oil seals
The oil seals separate the pump crankcase from the water side. If the pump oil is clean, at the correct level and there is no sign of water contamination or oil leakage, a normal brass-head seal service does not automatically require the piston guide to be removed or the oil drained. Milky oil or oil appearing on the water side requires a deeper investigation.
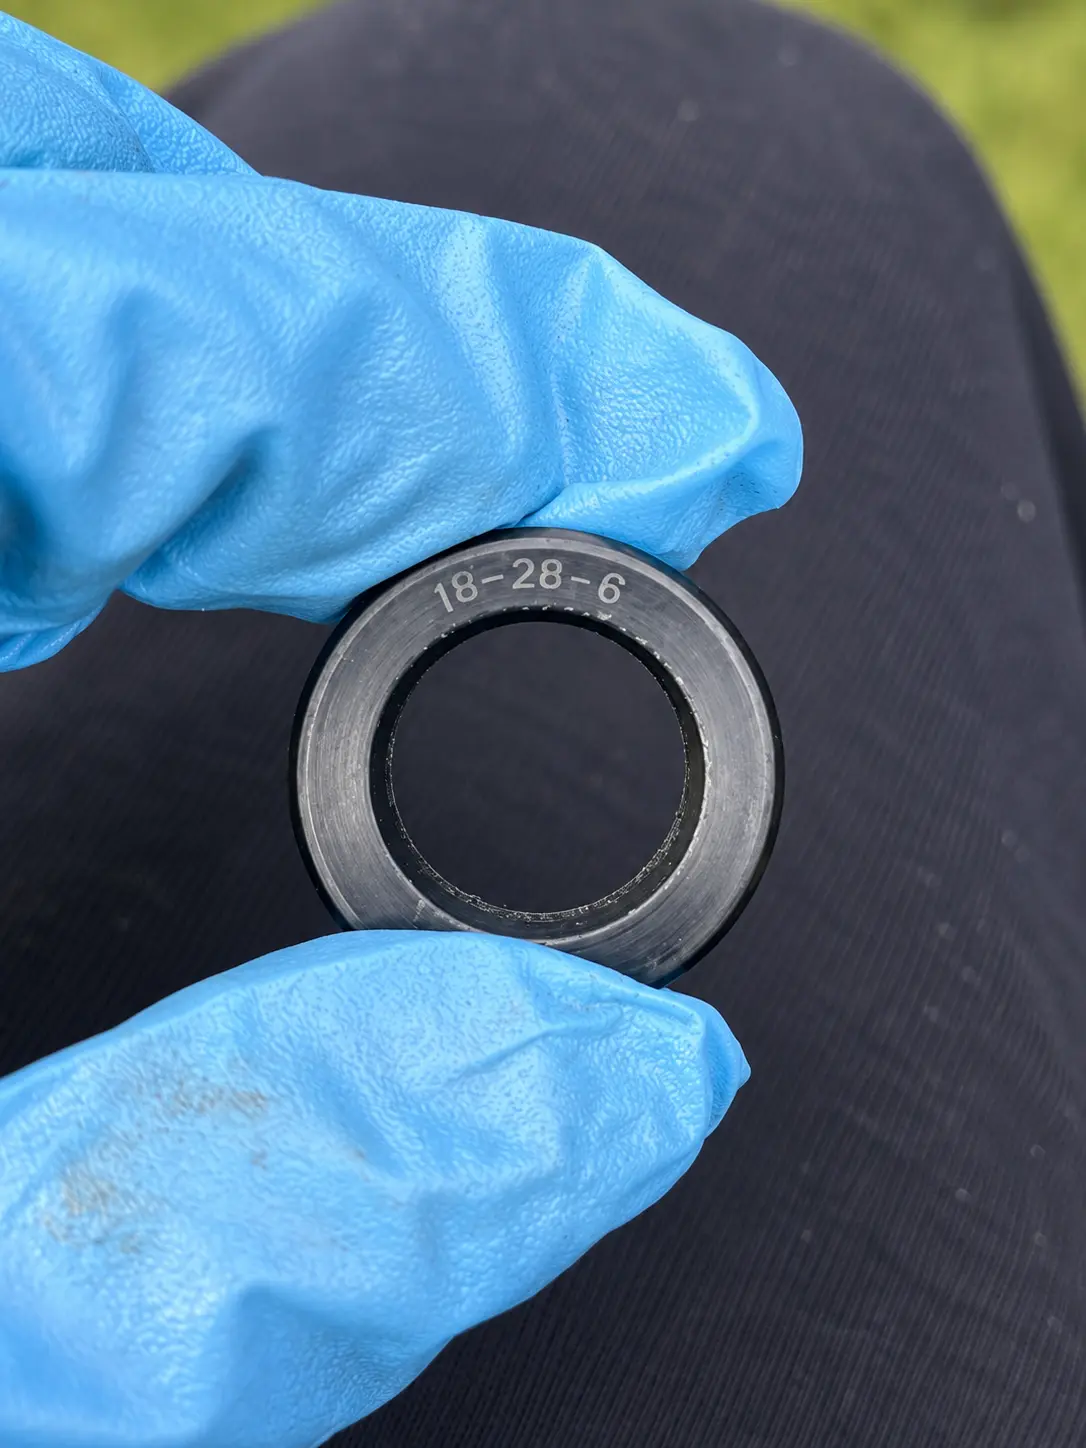
How we distinguish the common faults
- Will not draw from the float tank: inspect the low-pressure seals, inlet pipework and suction valves.
- Water reaches the gun but pressure is weak: inspect the high-pressure seals, pistons and delivery valves after confirming the inlet supply and nozzle are correct.
- Water leaks externally from the pump: clean the area and identify the joint. An O-ring or static seal is a common cause.
- The pump still will not prime after resealing: check for an air leak through the detergent system, a missing or damaged O-ring in the pipe between the float tank, filter and pump, and then test the suction valves.
These symptoms guide diagnosis, but they do not replace inspection. A restricted filter, air leak, damaged piston, worn valve or incorrect nozzle can produce similar behaviour.
A controlled inlet test
One workshop check is to connect a suitable water hose directly to the pump inlet, close the trigger and observe the outside of the pump from a safe position. Water trickling down from the pump during this controlled test supports further investigation of the low-pressure seal area. The precise leak path should still be identified before parts are ordered.
This test must be performed by a competent person with the correct guards and connections in place. Keep hands away from the running machine and never search for a leak by touch.
Removing the brass pump head
On the HDS 6/12 C version we commonly service, the brass head is held by four screws removed with a 6 mm Allen key. That size is an example for this model, not a universal Kärcher specification. Disconnect the relevant inlet, detergent and control connections carefully, noting their position before the head is drawn off evenly over the pistons.
For a routine water-side service, the brass head can be removed while the piston guide and oil side remain assembled. If the piston guide must be removed, the pump oil needs to be contained and the springs released evenly using the correct supporting screws and service tools.
Inspect before fitting the new seals
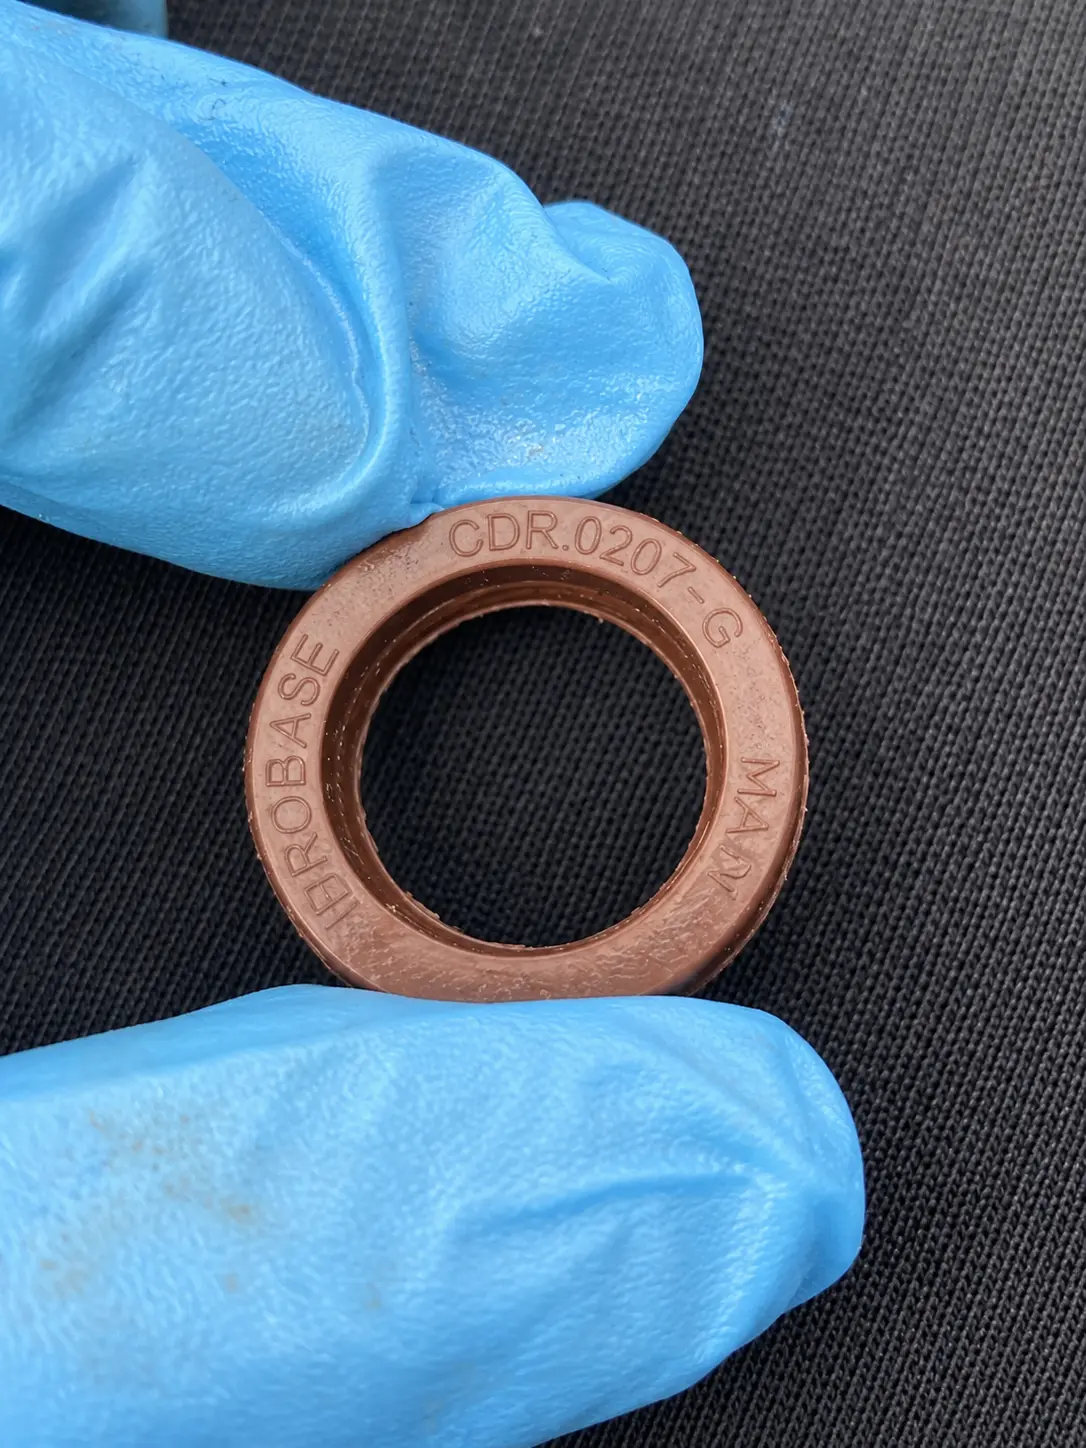
- Check every piston for scoring, chips and coating damage.
- Inspect the seal seats and bushings for wear or corrosion.
- Check that every O-ring is present and is the correct size.
- Examine the suction bridge and detergent connection for air leaks.
- Check the suction and high-pressure valves for contamination, damage and leakage.
Ideally, we replace the complete set of water-side seals together. Fitting only the visibly failed item can leave another aged seal in service and may mean dismantling the pump again shortly afterwards.
Seal direction and lubrication matter
The seal lips must face the correct direction. The compact HDS service information states that the groove of the low-pressure seal faces the bushing and that the holes at the chamfered bushings face towards the centre. Reversing a seal package can cause immediate priming or leak problems.
We use a clean, water-resistant silicone grease on suitable water-side seals. Use only a lubricant compatible with the seal material and the exact application. The manufacturer's service information calls for appropriate pressure-rated grease when installing the high-pressure seals, along with the correct installation sleeve and mandrel. Do not force a dry seal into the brass head with a screwdriver.
Do not overlook the suction valves
The suction valves sit at the bottom of the pump head and act as one-way inlet valves, allowing water to be drawn from the float tank into the pumping chambers. If new low-pressure seals do not restore suction, remove and test these valves using the correct tool. Their seals should be renewed and lubricated during refitting.
Testing after reassembly
- Reconnect a clean, unrestricted water supply and prime the pump.
- Check the pump and every disturbed joint for external leakage.
- Confirm stable flow before allowing the pump to build pressure.
- Test pressure with the correct nozzle and compare flow as well as pressure.
- Operate the trigger through several stop and restart cycles.
- Only test the burner after the cold-water pump test is satisfactory.
A successful service should restore reliable suction, stable pressure and dry external joints. If it does not, return to the diagnosis rather than tightening the pump head further or fitting parts at random.
Arrange a Kärcher HDS pump repair →
Send the model and symptoms, or ask us to help match a machine to the work.